1
/
of
4
Uploader
Challenger MT225B Tractor Service Manual Workshop Guide
Challenger MT225B Tractor Service Manual Workshop Guide
Regular price
$34.00 USD
Regular price
Sale price
$34.00 USD
Unit price
/
per
Taxes included.
Shipping calculated at checkout.
Couldn't load pickup availability
Challenger MT225B Tractor Workshop Manual : 226 Pages & 246
Format: PDF
Book Number: 79024234 & 79024230
English
Issued November 2006
Description
Challenger MT225B Tractor Repair Workshop Manual
Manual for:
AGCO Challenger
MT225B Series Tractor
Format: PDF
Book Number: 79024234 & 79024230
English
Issued November 2006
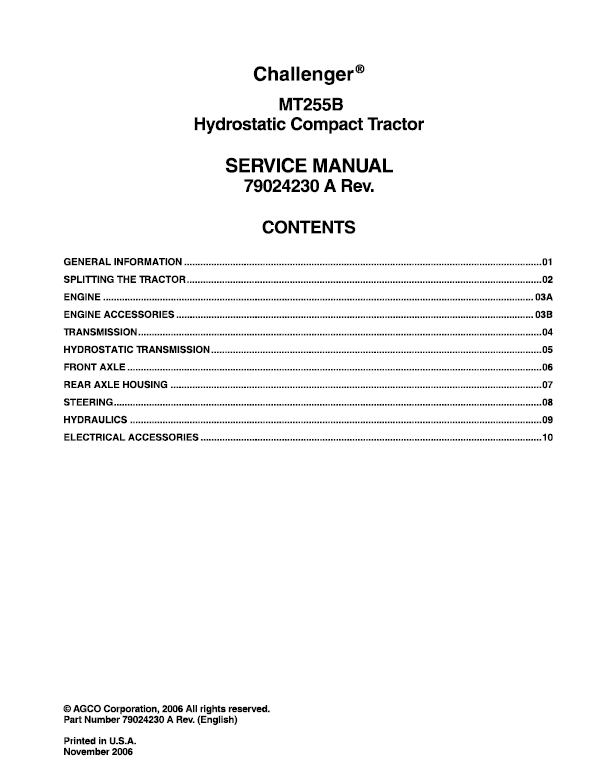
Challenger MT225B Hydrostatic Tractor Workshop Manual : 226 Pages
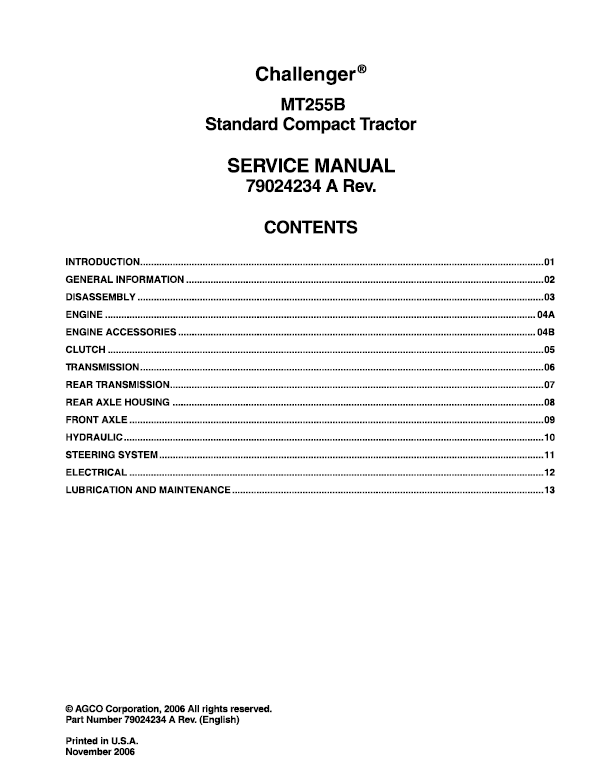
Challenger MT225B Standard Compact Tractor Workshop Manual : 246 Pages
Challenger MT225B Series Manual TABLE OF CONTENTS
General Information
Splitting the Tractor
Engine
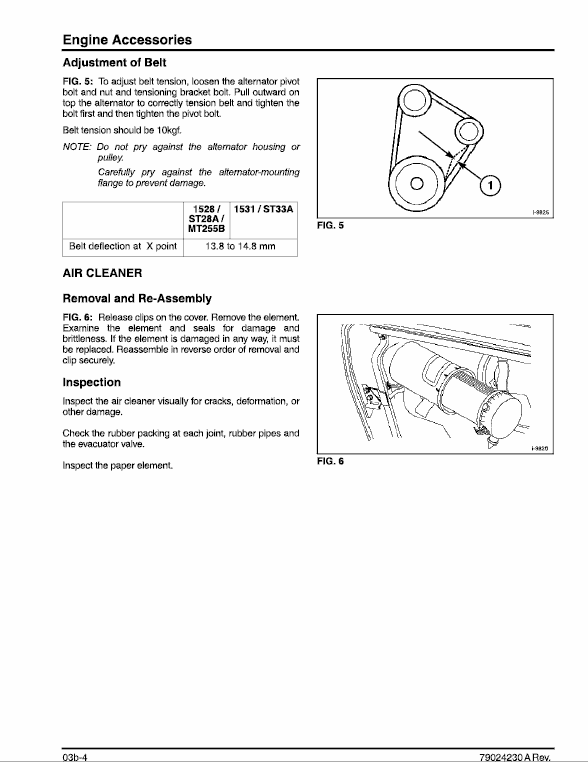
Engine Accessories
Transmission
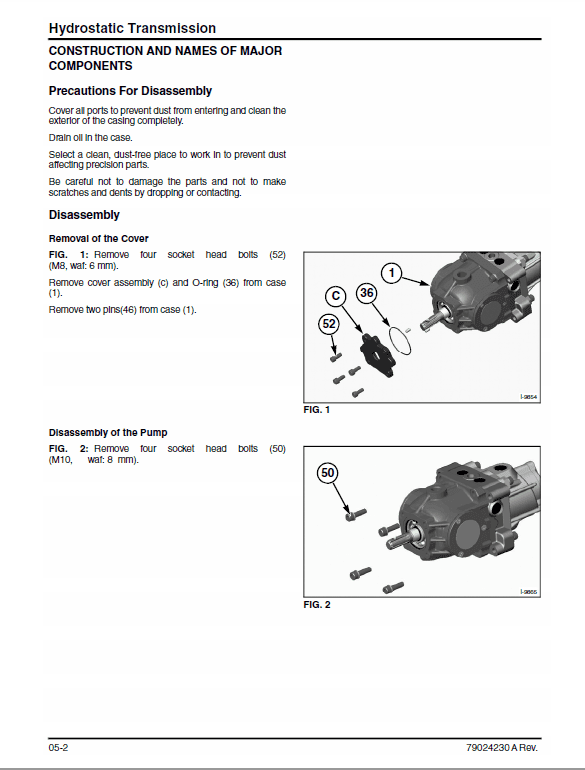
Hydrostatic Transmission
Rear Axle
Front Axle
Hydraulic System
Electrical Accessories
Steering System
MT225B Manual Extract –
PRECAUTIONS FOR REASSEMBLY
When assembling, pay attention to the installing direction of the gears, collars, etc. Never forget to install bearings and collars.
Assemble the range gears and related parts following the next instructions:
• Install the 4WD gear and the range shift gear on drive pinion. (Shown in Fig. 14).
NOTE: The 4WD gear should be installed with the recessed side facing the bearing.
• Sub-assemble the range shift gears and range shift counter gear and then the sub-assembled range shift gears into the rear transmission case.
• Install the shifter.
• Install the 4WD shaft.
• If the PTO shaft joint coupling inside the rear transmission case fell during disassembly, reinstall it on the PTO shaft ahead of time.
• Install the 4WD shift lever and the range shift lever.
Assemble the main gears and related parts following the next instructions:
• Install the reverse gear.
• Install the main counter gear on the drive pinion.
• Sub-assemble the main shift gears and shifter. Then insert the sub-assembled main shift gears into the front transmission case.
• Install the input metal (support) along with the PTO shaft.
• Install the PTO gear, the needle bearings and collar, retain them with a snap ring.
NOTE: The collar should be installed with the oil groove side facing the needle bearing.
• Install the PTO gear and input gear together.
Install the spacer transmission case on the front transmission case and then install the main shift lever.
Use silicone.
After assembly, make sure that each shift lever moves smoothly.
Check each shift lever for operating load.
Share


