1
/
of
4
Uploader
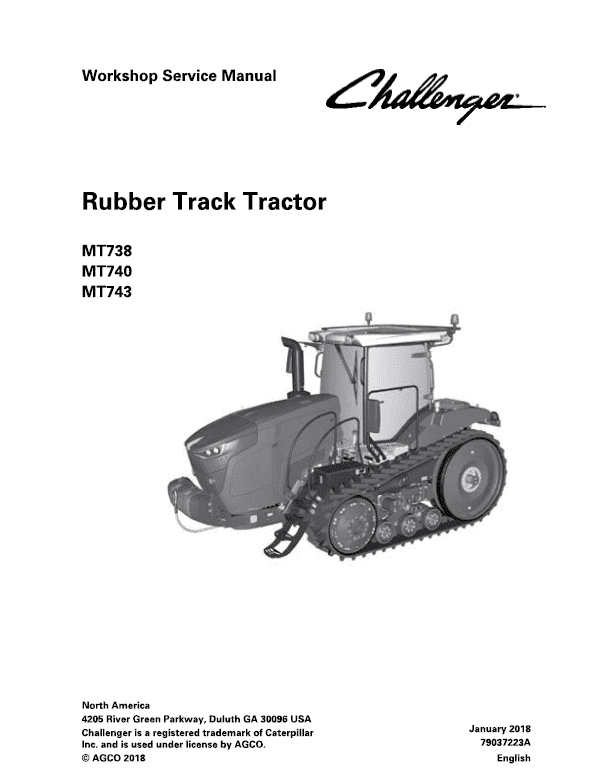
Challenger MT738, MT740, MT743 Tractor Service Manual Workshop Guide
Challenger MT738, MT740, MT743 Tractor Service Manual Workshop Guide
Regular price
$36.00 USD
Regular price
Sale price
$36.00 USD
Unit price
/
per
Taxes included.
Shipping calculated at checkout.
Couldn't load pickup availability
Challenger MT738, MT740, MT743 Tractor Workshop Manual : 1485 Pages
Format: PDF
Book Number: 79037223A
English
Issued January 2018
Description
Challenger MT738, MT740, MT743 Tractor Service Manual
Manual for:
AGCO Challenger
MT700 Series Tractor
Format: PDF
Book Number: 79037223A
English
Issued January 2018
Challenger MT738, MT740, MT743 Tractor Workshop Manual : 1485 Pages
MT700 Series Manual TABLE OF CONTENTS
General. ………………………………………………………………………………..,,..1
Engine fuel and exhaust systems ………………………………………………. 2
Frame and suspension ………………………………………………………………3
Steering system ………………………………………………………………………. 4
Drive train system …………………………………………………………………… 5
Brake system. …………………………………………………………………………..6
Compressed air system …………………………………………………………….. 7
Hydraulic system …………………………………………………………………….. 8
Electrical system ……………………………………………………………………… 9
Cab …………………………………………………………………………………………10
Air conditioning and heating system …………………………………………. 11
Chassis …………………………………………………………………………………… 12
Track belt system ……………………………………………………………………. 13
Implement drive system. …………………………………………………………..14
Implement lift system ……………………………………………………………….15
Attachments. ……………………………………………………………………………16
Special tools ……………………………………………………………………………. 17
MT738, MT740, MT743 Manual Extract- Changing crankshaft rear oil seal
Procedure
1. Lift out the engine.
2. Remove the clutch assembly (and if applicable the turbine clutch).
3. Remove the flywheel.
4. Remove the oil seal.
Do not damage the crankshaft.
5. Clean the seal location and grind off any burrs.
NOTE: If the crankshaft is worn at the sealing location, a 2 mm spacer ring, can be fitted in front of the crankshaft rear oil seal.
6. Fit the seal.
a) Fit the seal dry, not oiled.
b) Put the seal carefully on the shaft.
Make sure that the sealing lip is not damaged.
c) Hit the seal into position with the fitting tool.
Share


