1
/
of
4
Uploader
Kubota STW34, STW37, STW40 Tractor Service Manual
Kubota STW34, STW37, STW40 Tractor Service Manual
Regular price
$34.00 USD
Regular price
Sale price
$34.00 USD
Unit price
/
per
Taxes included.
Shipping calculated at checkout.
Couldn't load pickup availability
Kubota STW34, STW37, STW40 Tractor Workshop Manual – 555 Pages
Format: PDF
Publication: 9Y111-11091
Language: English
Description
Kubota STW34, STW37, STW40 Tractor Workshop Service Manual
Kubota
Tractor
Model STW34, STW37, STW40
Format: PDF
Publication: 9Y111-11091
Language: English
Kubota STW34, STW37, STW40 Tractor Workshop Manual – 555 Pages
Table of Content of the Workshop Service Manual
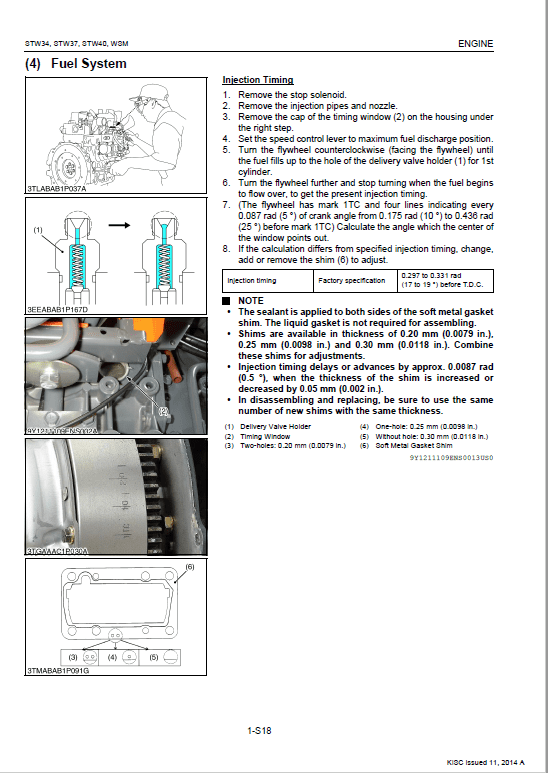
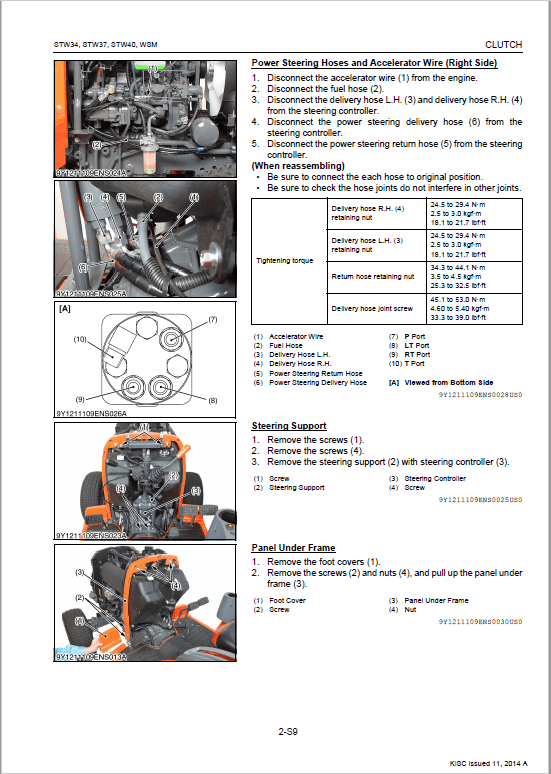
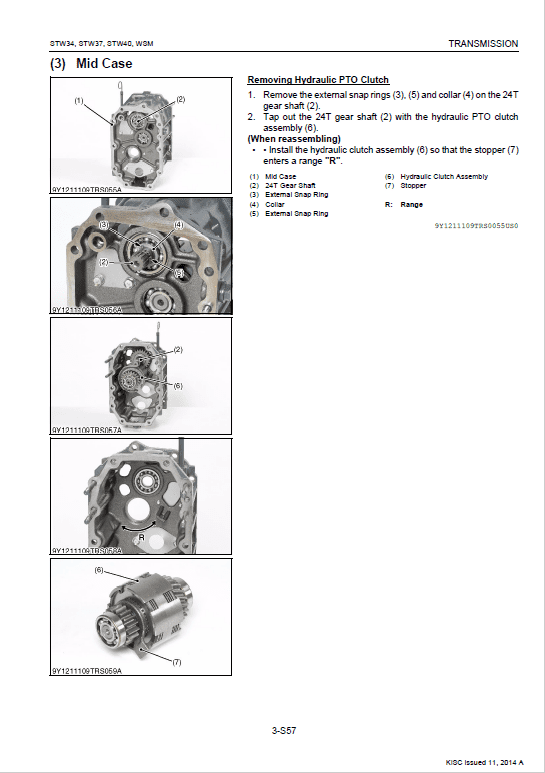
This Workshop Manual tells the servicing personnel about the mechanism, servicing and maintenance of the STW34, STW37 and STW40. It contains 4 parts: "Information", "General", "Mechanism" and "Servicing".
-Information
This section primarily contains information below.
• Safety First
• Safety Decal
• Specifications
• Dimensions
– General
This section primarily contains information below.
• Engine Identification
• Model Identification
• General Precautions
• Maintenance Check List
• Check and Maintenance
• Special Tools
– Mechanism
This section contains information on the structure and the function of the unit. Before you continue with the subsequent sections, make sure that you read this section.
Refer to the latest version of Workshop Manual (Code No. 9Y021-01870 / 9Y021-18200) for the diesel engine / tractor mechanism that this workshop manual does not include.
– Servicing
This section primarily contains information below.
• Troubleshooting
• Servicing Specifications
• Tightening Torques
• Checking, Disassembling and Servicing
CARE OF PICTORIAL SAFETY LABELS
1. Keep pictorial safety labels clean and free from obstructing material.
2. Clean pictorial safety labels with soap and water, dry with a soft cloth.
3. Replace damaged or missing pictorial safety labels with new labels.
4. If a component with pictorial safety label(s) affixed is replaced with new part, make sure new label(s) is (are) attached in the same location(s) as the replace component.
5. Mount new pictorial safety labels by applying on a clean dry surface and pressing any bubbles to outside edge
Share


